Run the application
Run the application
With all the components of the sample in place, it's time to run our program to see if everything is working correctly.
From the terminal / command prompt in the local application directory, type
node server.js and click enter. The server will start up and output
Server started: Listening on port 3000.
From your browser, go to http://localhost:3000/. Since this is the first time
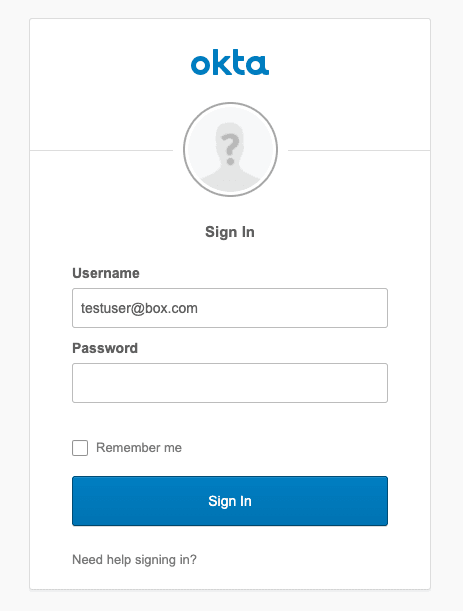
we'll be testing out the user sign in flow, you'll see the Okta login.
Sign in with the credentials for the Okta user you created in the last section of step 2.
Once signed in, you will see a message stating
New user created: {{USERNAME}} output to the browser.
When attempting to log in with this user in subsequent attempts, you
will now see Hello {{USERNAME}} output to the browser.
From Eclipse (or your preferred editor) click to run the application. You will see console output stating that the Spring boot application is now running on port 8080.
From your browser, go to http://localhost:8080/. Since this is the first time
we'll be testing out the user sign in flow, you'll see the Okta login.
Sign in with the credentials for the Okta user you created in the last section of step 2.
Once signed in, you will see a message stating New User Created: {{USERNAME}}
output to the browser.
When attempting to log in with this user in subsequent attempts, you
will now see Hello {{USERNAME}} output to the browser.
From the terminal / command prompt in the local application directory, type
env FLASK_APP=server.py flask run and click enter. The server will start up
and output Running on http://127.0.0.1:5000/.
From your browser, go to http://127.0.0.1:5000/. Since this is the first time
we'll be testing out the user sign in flow, you'll see the Okta login.
Sign in with the credentials for the Okta user you created in the last section of step 2.
Once signed in, you will see a message stating
New user created: {{USERNAME}} output to the browser.
When attempting to log in with this user in subsequent attempts, you
will now see Hello {{USERNAME}} output to the browser.
From Visual Studio Code (or your preferred editor) click Run ->
Start Debugging from the menu. You will see debug console output as the
application loads, then a browser window will be loaded with the application at
https://localhost:5001/.
Since this is the first time testing the application, the sign in link will be displayed. Once clicked, the Okta login will be automatically loaded.
Sign in with the credentials for the Okta user you created in the last section of step 2.
Once signed in, you will see a message in the debug console stating
New user created: {{USERNAME}} output to the browser.
When attempting to log in with this user in subsequent attempts, you
will now see Current user name: {{USERNAME}} output to the browser.
Summary
You've reached the end of this Quick Start guide. By now you should have taken the following steps.
- Created a web application scaffold.
- Setup and configured an Okta application and created a first user that could be used to log into the web app.
- Setup and configured a Box application so that the web app can connect to Box.
- Created a log in flow for the web application, allowing the Okta user to log in.
- Added a check to find an existing Box user, and optionally create a Box user the first time that Okta user logs into the web application.
- And finally, ran the application and saw the complete flow in action.
Next Steps
We recommend the following resource for anyone who wants to learn more about more advanced capabilities that may be attached into the user creation and access process.
- User provisioning best practices for advanced user folder architecture setup.
- User deprovisioning best practices cleaning up inactive users and transferring user content to another account.
- Uploading content into Box, including running preflight checks and large file (chunked) uploading.
