> ## Documentation Index
> Fetch the complete documentation index at: https://developer.box.com/llms.txt
> Use this file to discover all available pages before exploring further.

# アプリトークン認証を使用した設定

export const MultiRelatedLinks = ({sections = []}) => {
  if (!sections || sections.length === 0) {
    return null;
  }
  return <div className="space-y-8">
      {sections.map((section, index) => <RelatedLinks key={index} title={section.title} items={section.items} />)}
    </div>;
};

export const RelatedLinks = ({title, items = []}) => {
  const getBadgeClass = badge => {
    if (!badge) return "badge-default";
    const badgeType = badge.toLowerCase().replace(/\s+/g, "-");
    return `badge-${badge === "ガイド" ? "guide" : badgeType}`;
  };
  if (!items || items.length === 0) {
    return null;
  }
  return <div className="my-8">
      {}
      <h3 className="text-sm font-bold uppercase tracking-wider mb-4">{title}</h3>

      {}
      <div className="flex flex-col gap-3">
        {items.map((item, index) => <a key={index} href={item.href} className="py-2 px-3 rounded related_link hover:bg-[#f2f2f2] dark:hover:bg-[#111827] flex items-center gap-3 group no-underline hover:no-underline border-b-0">
            {}
            <span className={`px-2 py-1 rounded-full text-xs font-semibold uppercase tracking-wide flex-shrink-0 ${getBadgeClass(item.badge)}`}>
              {item.badge}
            </span>

            {}
            <span className="text-base">{item.label}</span>
          </a>)}
      </div>
    </div>;
};

export const Link = ({href, children, className, ...props}) => {
  const localizedHref = localizeLink(href);
  return <a href={localizedHref} className={className} {...props}>
      {children}
    </a>;
};

<RelatedLinks
  title="必須のガイド"
  items={[
{ label: translate("Select Auth Method"), href: "/guides/authentication/select", badge: "GUIDE" },
{ label: translate("Platform App"), href: "/guides/applications/app-types/platform-apps", badge: "GUIDE" }
]}
/>

<Card href={localizeLink("/guides/authentication/app-token")} arrow title="アプリトークン認証のしくみを確認する" />

## 前提条件

サーバー側認証を使用してPlatformアプリを設定するには、Box Enterpriseアカウントから[開発者コンソール][devconsole]にアクセスできることを確認する必要があります。または、[Developerアカウント][devaccount]にサインアップすることもできます。

## アプリの作成手順

### 1. 開発者コンソールにログインする

Log into Box and navigate to the [Developer Console][devconsole].

### 2. Platformアプリを作成する

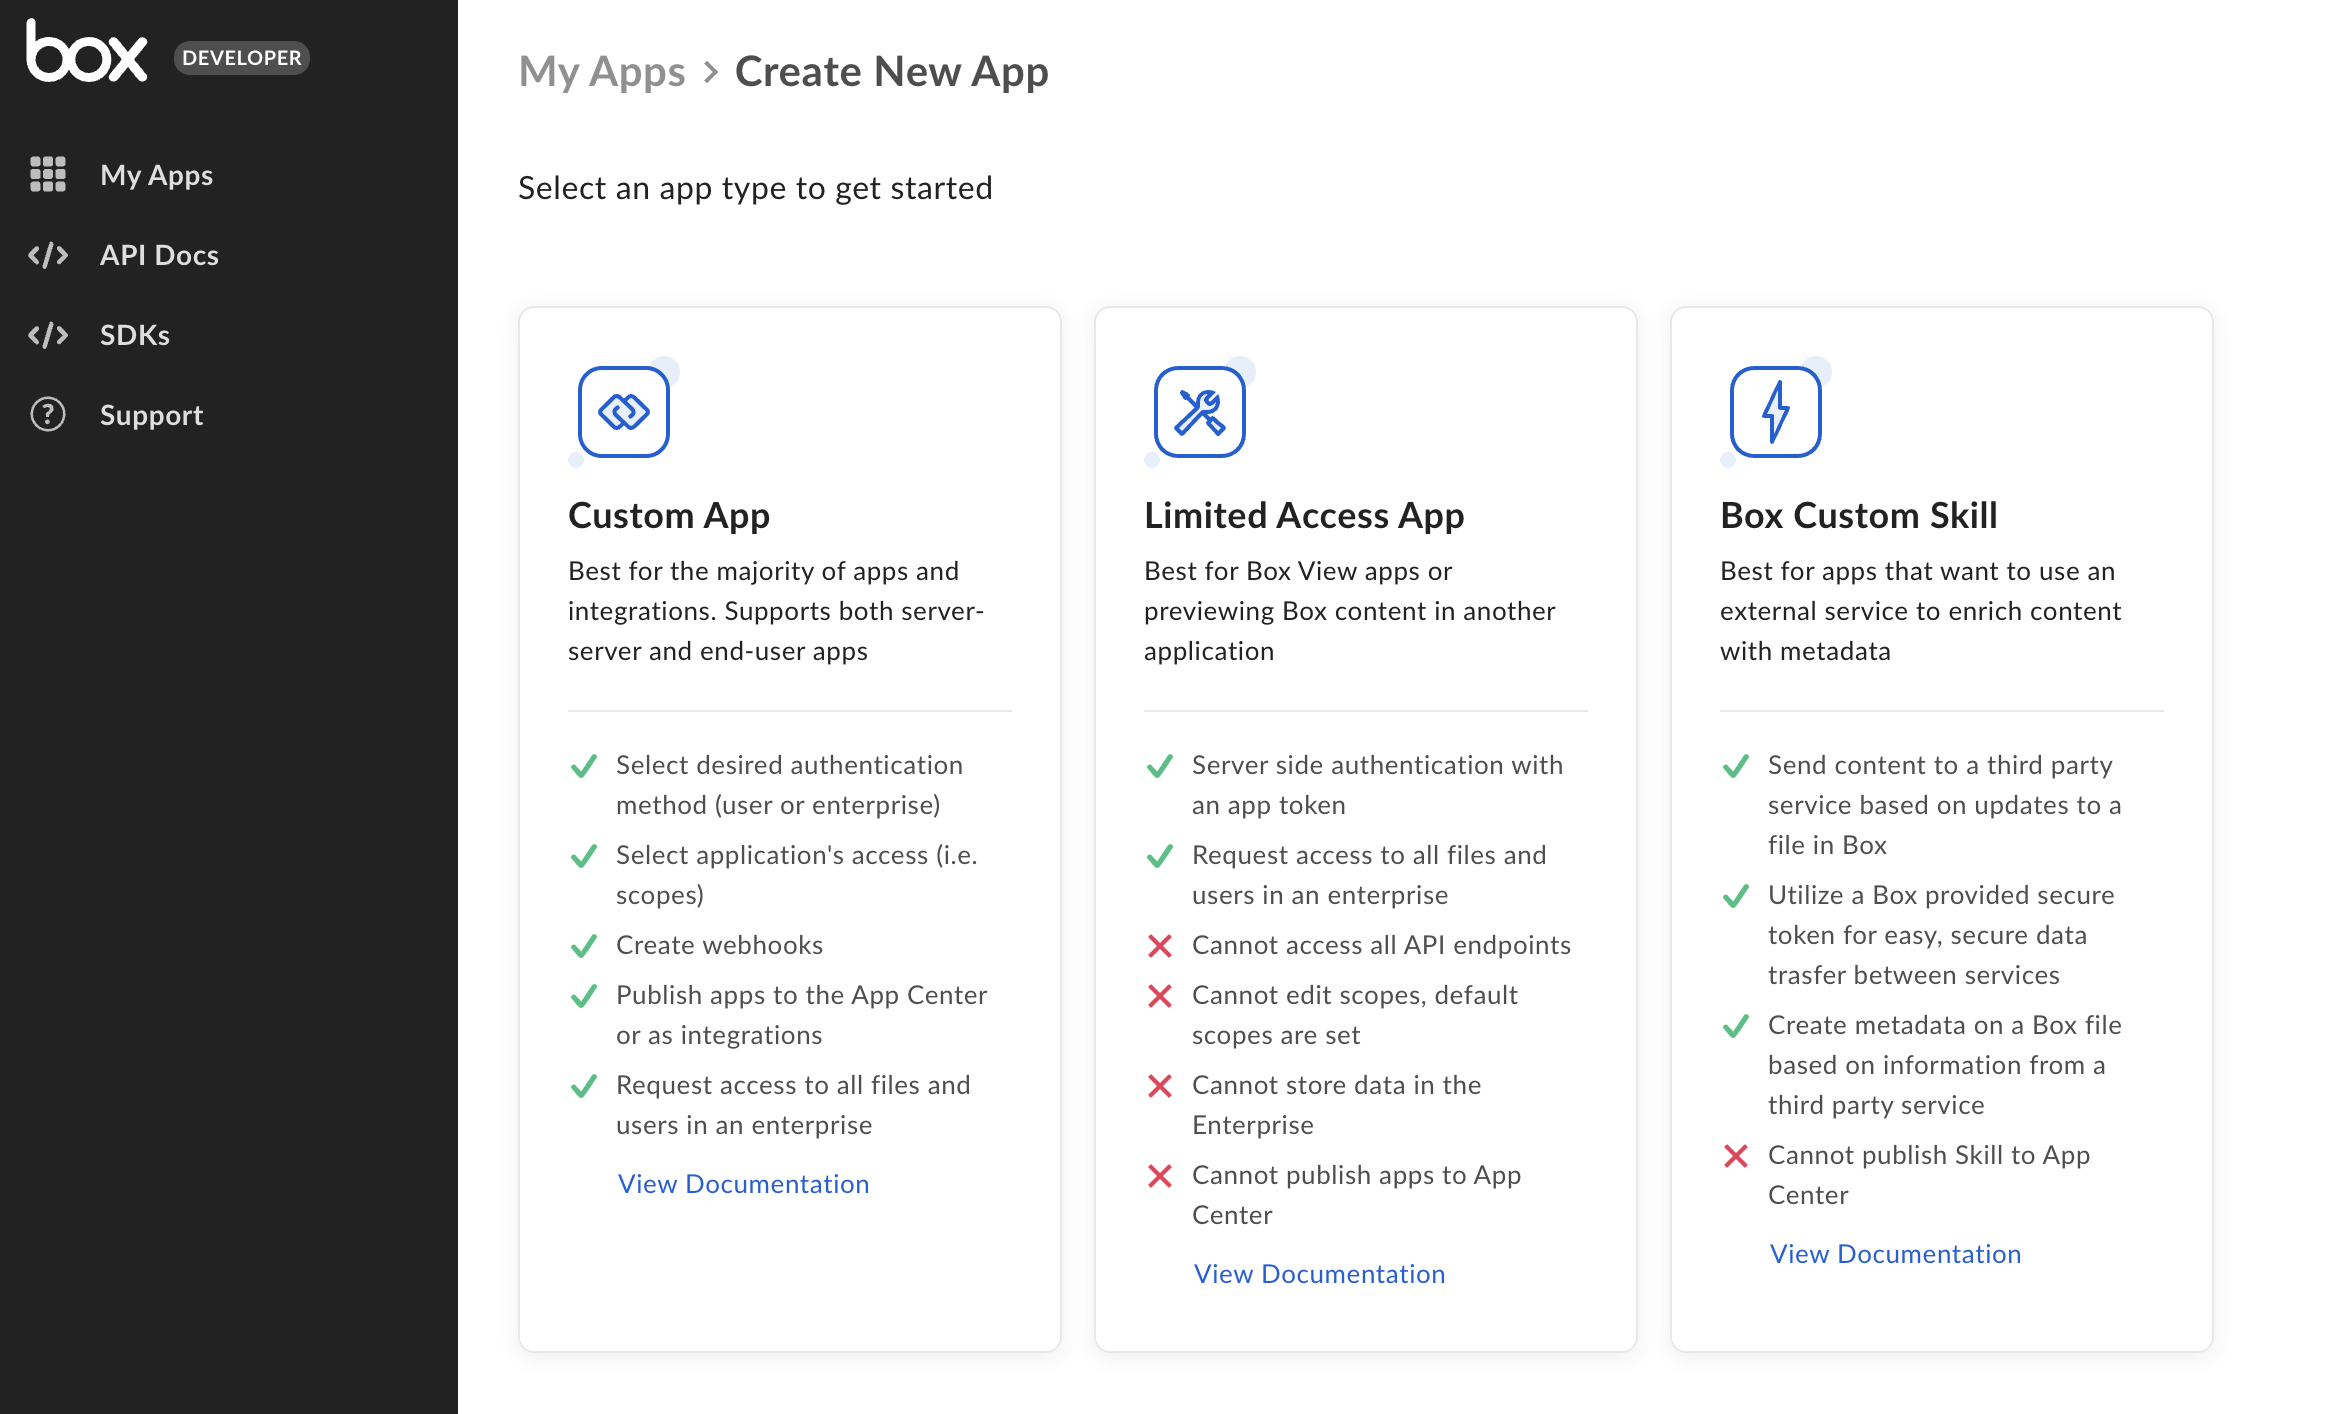
Select **Platform App** from the list of application types. A modal will appear to prompt the next step.

<Frame border>
  <img src="https://mintcdn.com/box/KBEcg4yicgc_HMRY/images/guides/authentication/select-app-type.png?fit=max&auto=format&n=KBEcg4yicgc_HMRY&q=85&s=b04f6e0c5b4bb1146a0672fa626bd6a3" alt="アプリケーションの選択画面" width="2340" height="1414" data-path="images/guides/authentication/select-app-type.png" />
</Frame>

### 3. アプリ名を選択する

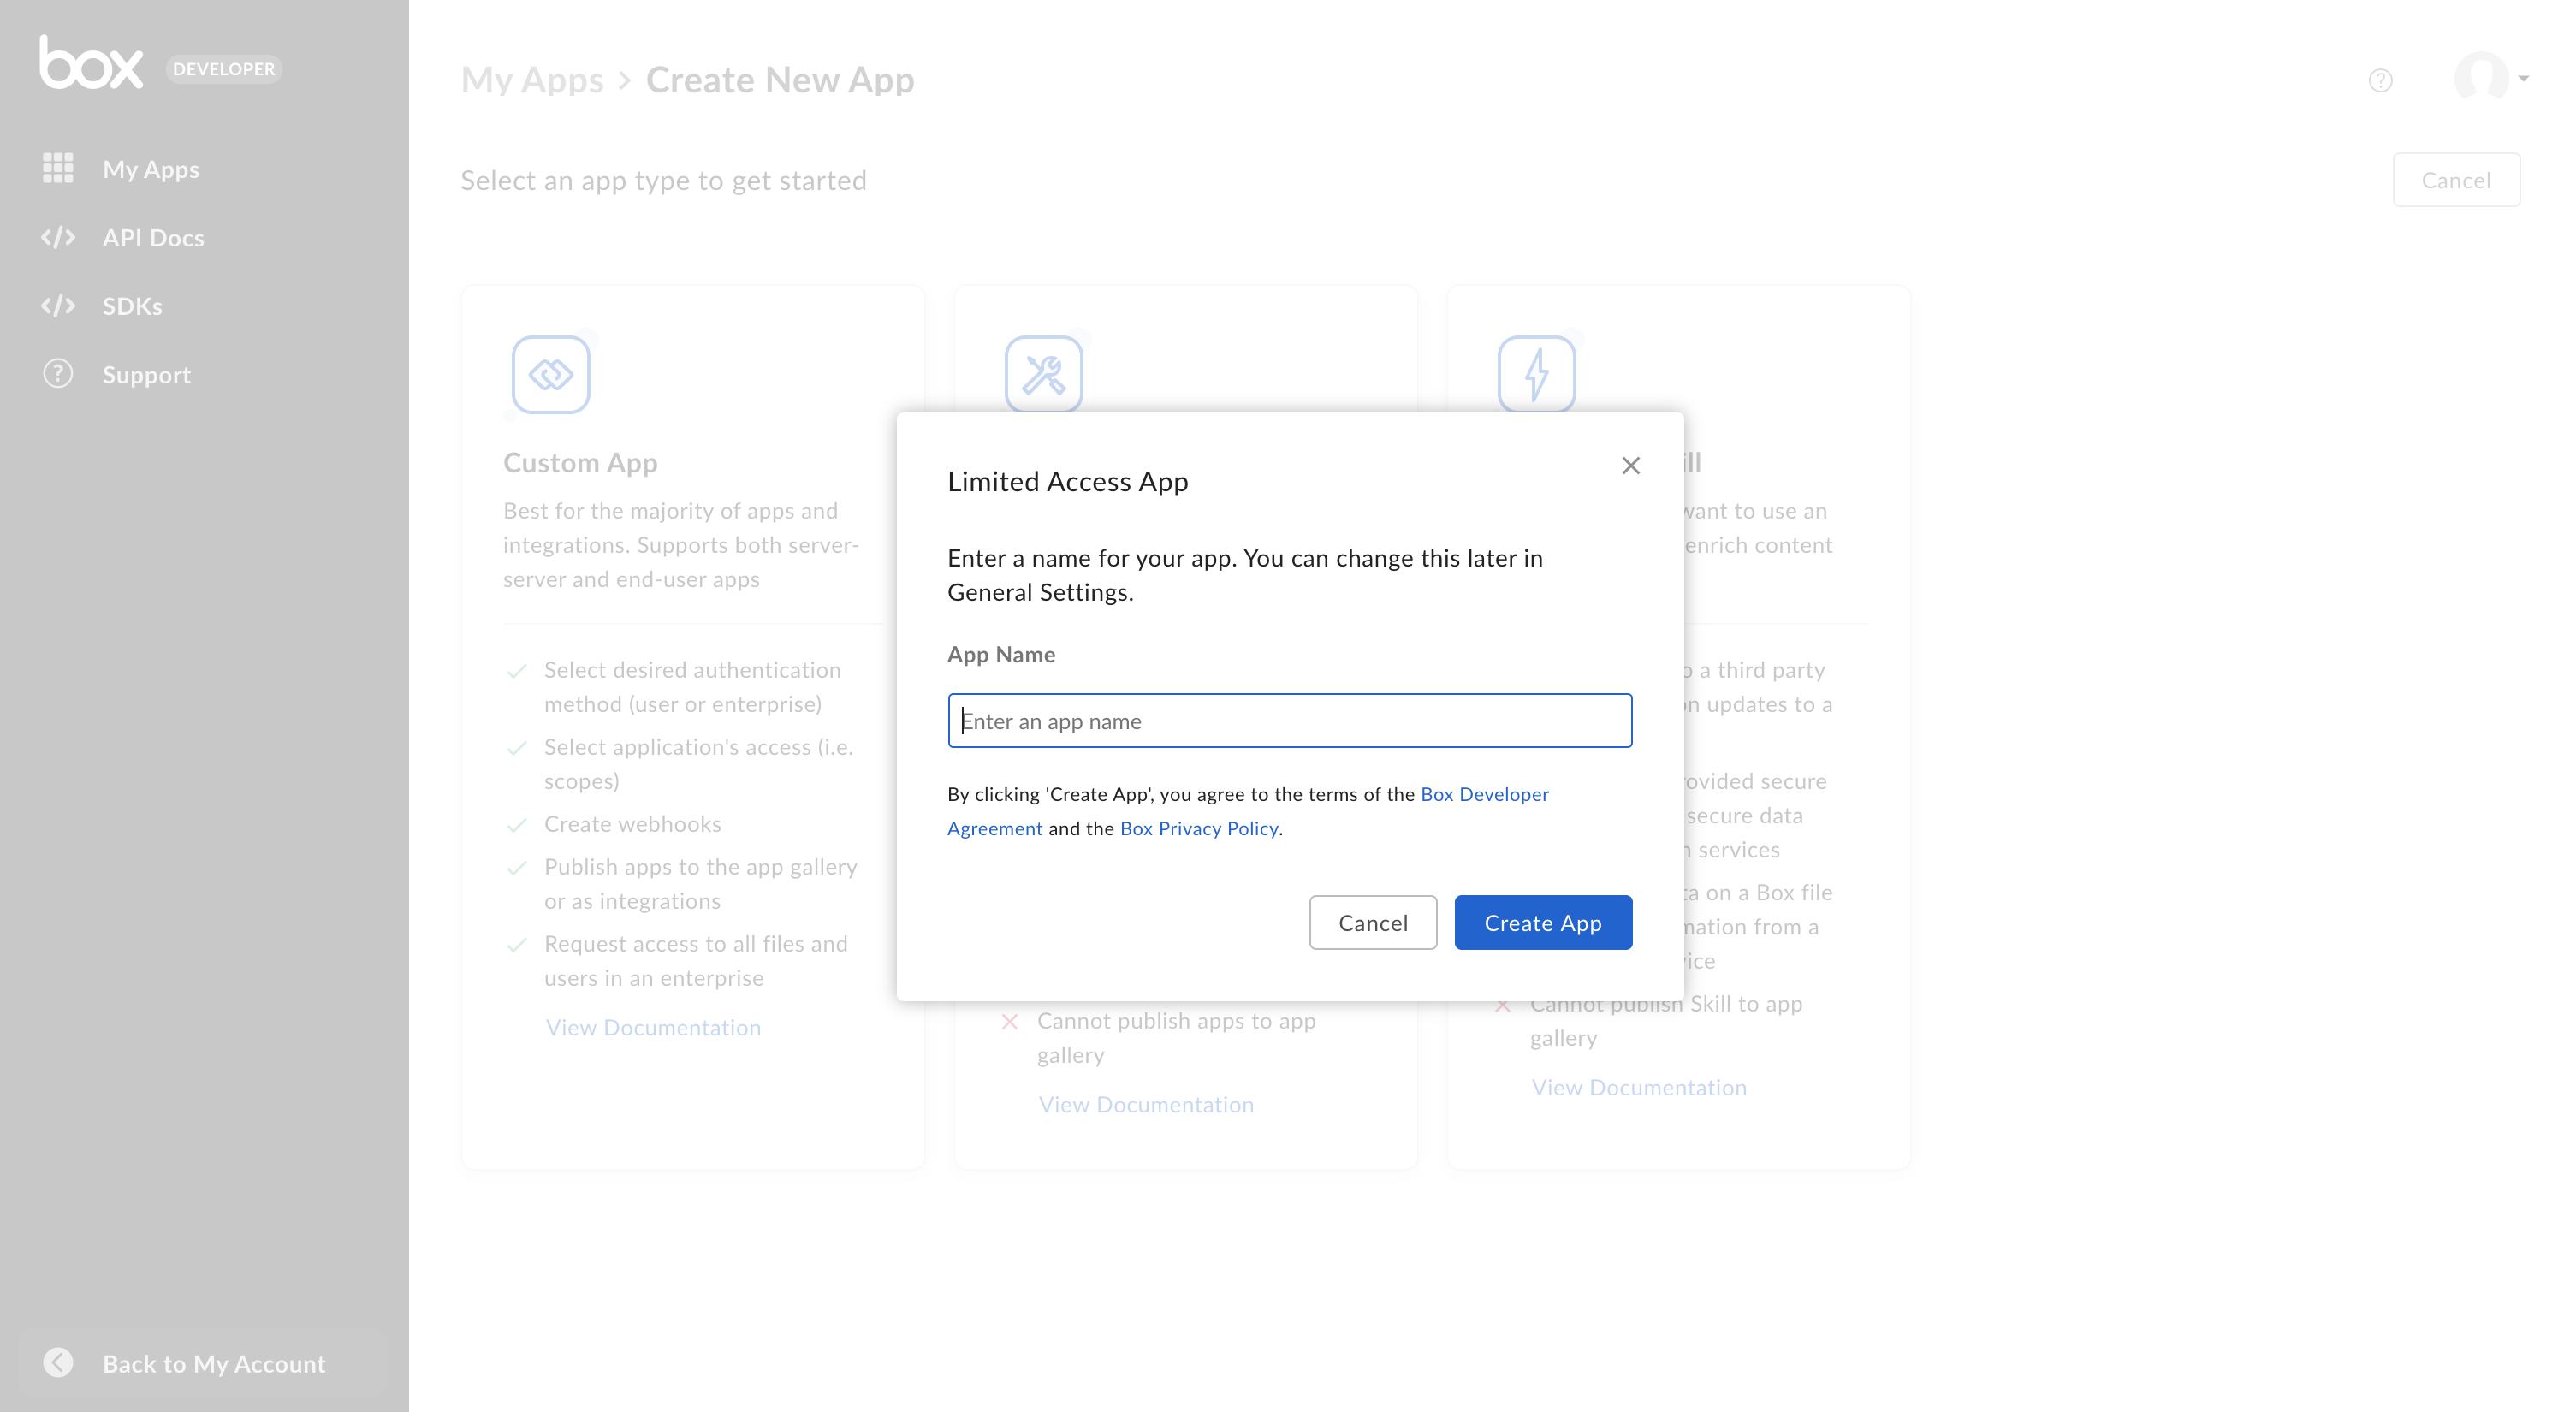
最後に、アプリケーションの一意の名前を選択し、\[**アプリの作成**] をクリックします。
<Frame border width="600" center>
  <img src="https://mintcdn.com/box/KBEcg4yicgc_HMRY/images/guides/authentication/limited-access-naming.png?fit=max&auto=format&n=KBEcg4yicgc_HMRY&q=85&s=d6bbb0222c3583e20ff3bbdaa3797c87" alt="アプリ名のフォーム" width="3010" height="1650" data-path="images/guides/authentication/limited-access-naming.png" />
</Frame>

## アプリ承認

キーペアがアプリケーションに正常に追加されたら、Box Enterprise管理者はBox管理コンソール内でこのアプリケーションを承認する必要があります。

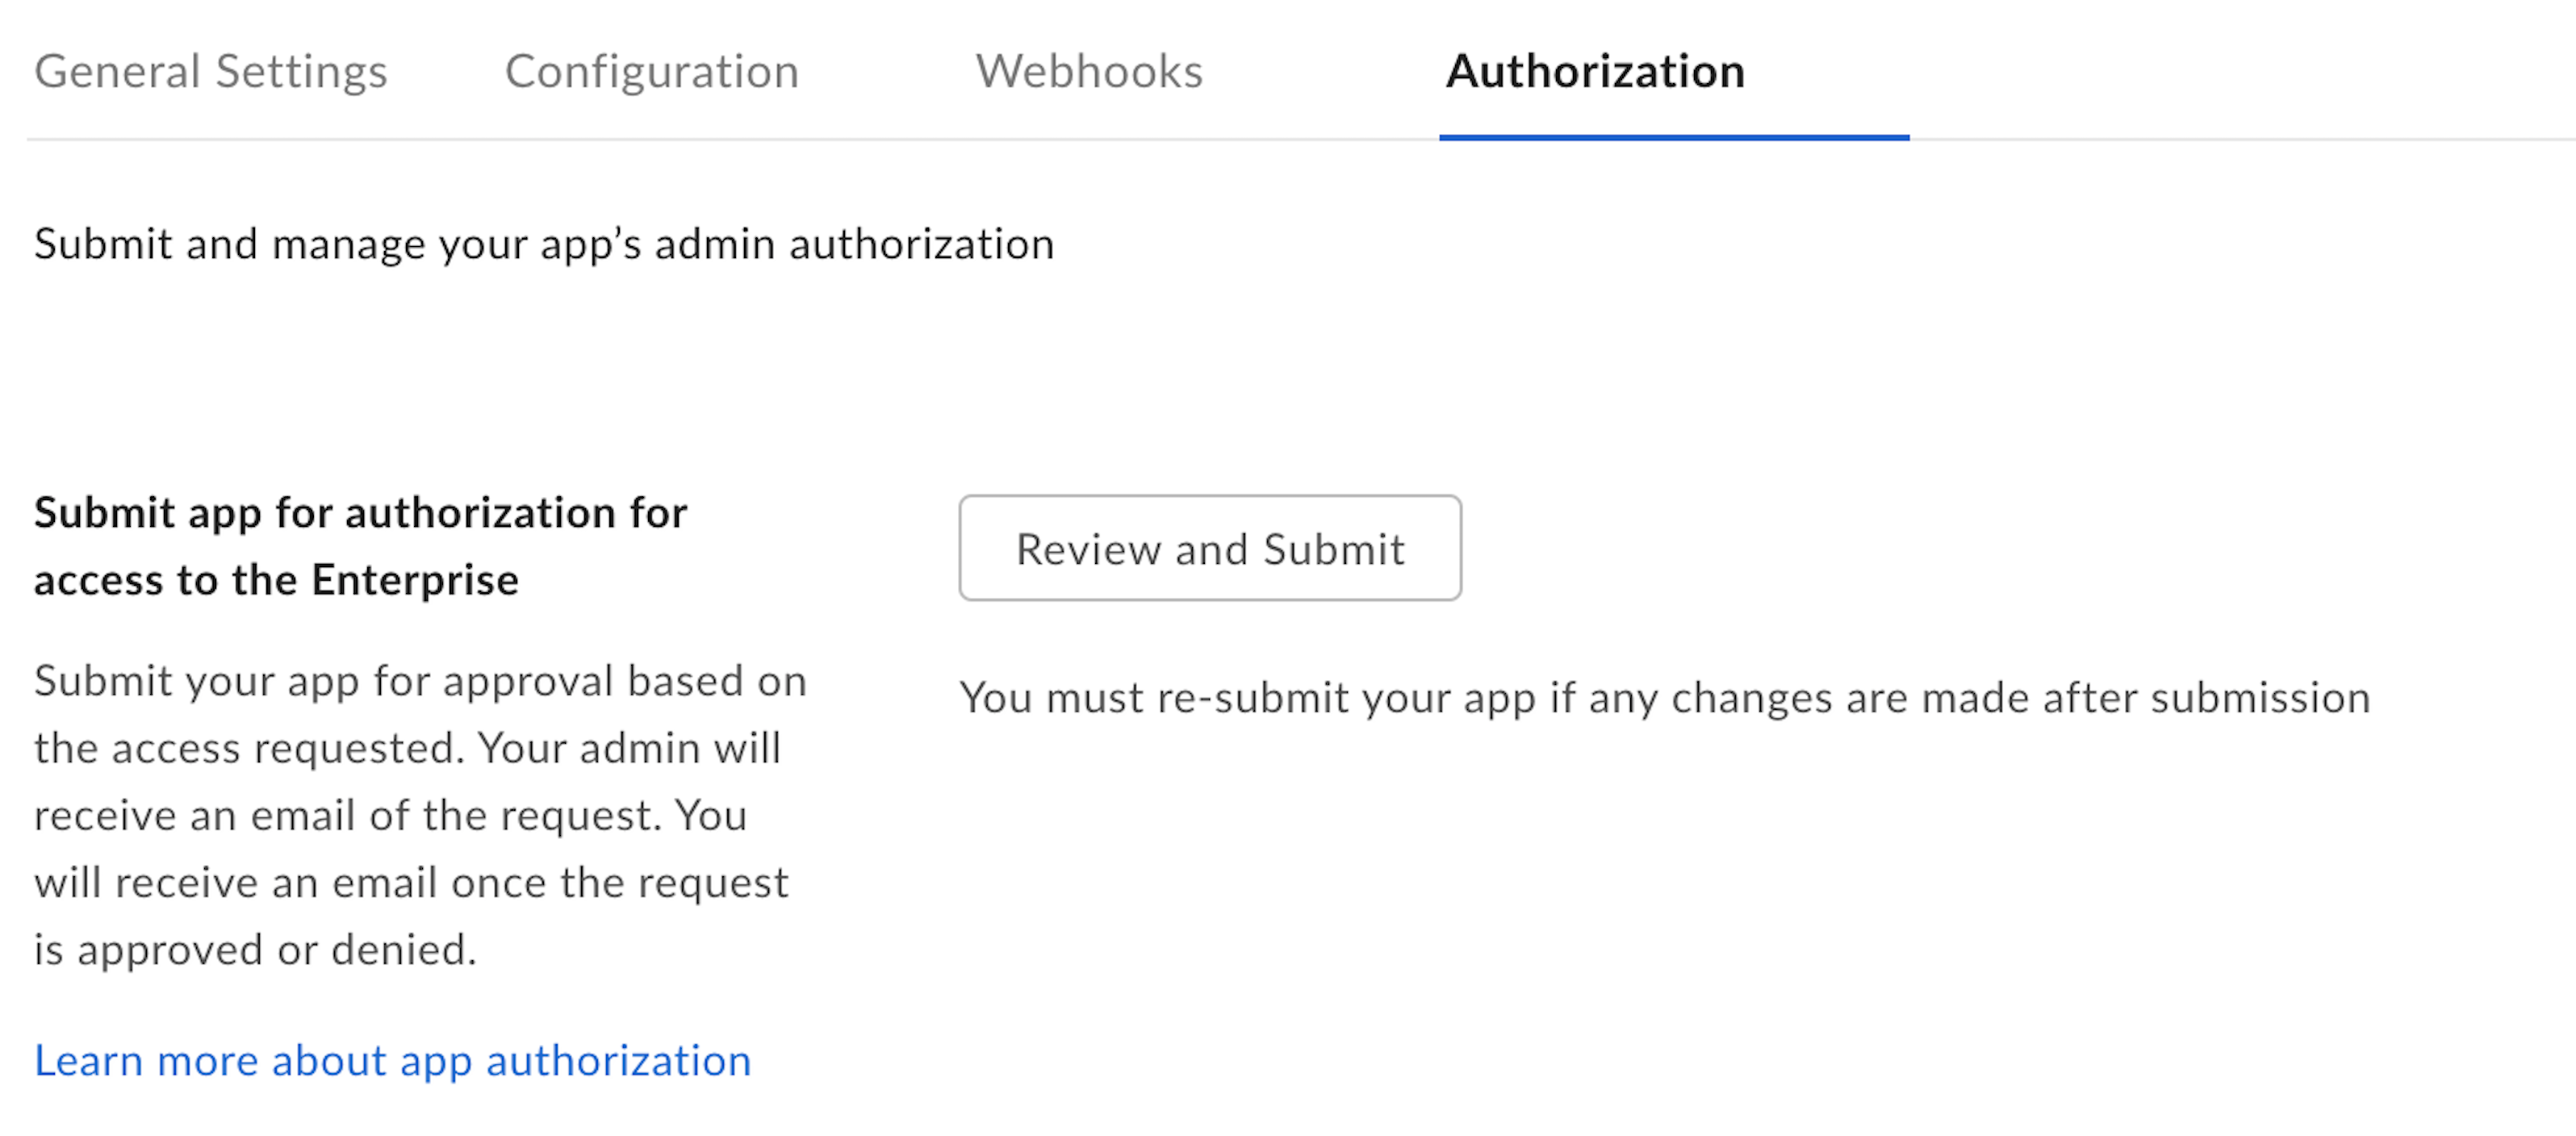
[開発者コンソール][devconsole]内でアプリケーションの \[**一般設定**] タブに移動し、\[**アプリ承認**] セクションまで下にスクロールします。
<Frame border width="400" center>
  <img src="https://mintcdn.com/box/KBEcg4yicgc_HMRY/images/guides/authentication/app-authorization.png?fit=max&auto=format&n=KBEcg4yicgc_HMRY&q=85&s=ae2a4bdb6e77841a608d86232dd68301" alt="キーの追加と管理" width="3192" height="1408" data-path="images/guides/authentication/app-authorization.png" />
</Frame>

\[**確認して送信**] をクリックして、承認を得るためにBox Enterprise管理者にメールを送信します。このプロセスの詳細については、<Link href="/guides/authorization">承認ガイド</Link>を参照してください。

## 基本的な構成

アプリケーションを使用するには、事前にいくつかの基本的な追加構成が必要になる場合があります。

### プライマリおよびセカンダリアプリトークン

Authentication with Platform Apps is done through preconfigured <Link href="/guides/authentication/app-token">App Tokens</Link>. To configure an app token, navigate to the **Configuration** tab for your application within the [Developer Console][devconsole].

\[**プライマリアクセストークン**] セクションまで下にスクロールし、\[**キーを生成**] ボタンをクリックします。

<Frame border width="600" center>
  <img src="https://mintcdn.com/box/KBEcg4yicgc_HMRY/images/guides/authentication/app-generate-key.png?fit=max&auto=format&n=KBEcg4yicgc_HMRY&q=85&s=0db7d390a273f0d6c3b6d39b66cd6690" alt="アプリトークンの作成" width="489" height="247" data-path="images/guides/authentication/app-generate-key.png" />
</Frame>

アプリトークンは、自動的に期限切れになるよう構成することも、有効期限なしで構成することもできます。作成後は、このキーを使用して<Link href="/guides/api-calls">APIコール</Link>を実行できます。

<Warning>
  **アプリ承認**

  アプリトークンは、Box管理コンソール内でアプリケーションの承認が成功するまで生成できません。
</Warning>

### CORSドメイン

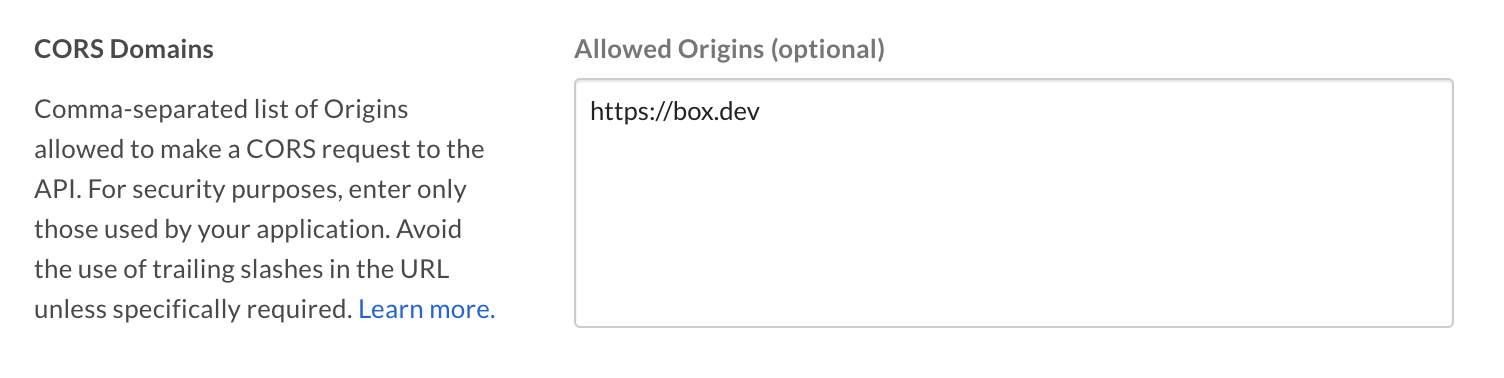
アプリケーションがJavaScriptでフロントエンドのブラウザコードからAPIコールを実行する場合は、[クロスオリジンリソース共有][cors] (CORS) のために、これらの呼び出しの実行元となるドメインを許可リストに追加する必要があります。すべてのリクエストがサーバー側のコードから発行される場合は、このセクションをスキップできます。

許可リストにすべてのURIを追加するには、[開発者コンソール][devconsole]の \[**構成**] タブの下部にある \[**CORSドメイン**] セクションに移動します。

<Frame border>
  <img src="https://mintcdn.com/box/KBEcg4yicgc_HMRY/images/guides/authentication/app-cors.png?fit=max&auto=format&n=KBEcg4yicgc_HMRY&q=85&s=12de7f8cec95dc4317b02172ef10e9df" alt="アプリ名のフォーム" width="1504" height="378" data-path="images/guides/authentication/app-cors.png" />
</Frame>

[devconsole]: https://app.box.com/developers/console

[devaccount]: https://account.box.com/signup/n/developer

[devtoken]: /guides/authentication/tokens/developer-tokens

[scopes]: /guides/api-calls/permissions-and-errors/scopes

[cors]: https://en.wikipedia.org/wiki/Cross-origin_resource_sharing

<RelatedLinks
  title="関連するガイド"
  items={[
{ label: translate("Select Auth Method"), href: "/guides/authentication/select", badge: "GUIDE" },
{ label: translate("OAuth 2.0 Auth"), href: "/guides/authentication/oauth2/index", badge: "GUIDE" },
{ label: translate("Platform App Approval"), href: "/guides/authorization/platform-app-approval", badge: "GUIDE" }
]}
/>